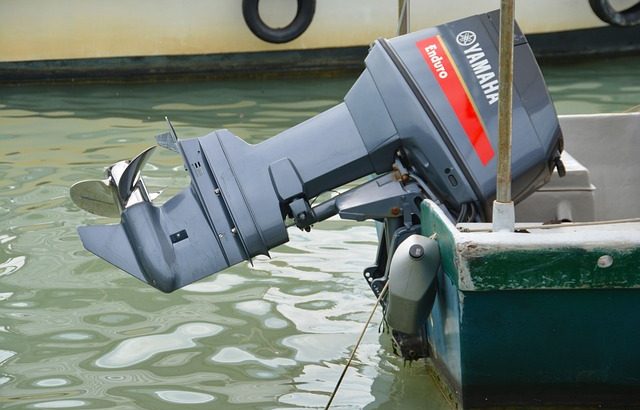
How to Replace a Worn Propeller on Your Boat Motor: A Guide for Australian Boaters
Boating is a beloved pastime for many Australians, whether it’s cruising along the coast or exploring the country’s stunning waterways. A crucial aspect of maintaining your boat is ensuring that its motor is in top condition, and that includes replacing the propeller when necessary. In this guide, we’ll walk you through the steps to self-replace a worn propeller on your boat motor.
Why is Propeller Maintenance Important?
The propeller plays a vital role in the performance and efficiency of your boat motor. A damaged or worn propeller can lead to decreased fuel efficiency, reduced maneuverability, and even engine damage. Regular inspection and replacement of the boat propeller are essential to ensure smooth sailing on the water.
How to Replace a Propeller on an Inboard Boat Motor:
1. Identify the Correct Propeller Type:
Before beginning the replacement process, consult your boat’s manual to determine the correct type and size of propeller required for your motor.
2. Prepare Your Boat:
Turn off the engine and lift your boat out of the water using a suitable hoist or trailer. Ensure the boat is securely supported on a stable surface.
3. Remove the Old Propeller:
Use the appropriate tools to loosen and remove the nuts or bolts securing the old propeller to the motor shaft. Carefully slide the old propeller off the shaft, taking note of its orientation.
4. Install the New Propeller:
Slide the new propeller onto the motor shaft, ensuring it is properly aligned with the keyway. Gently push the propeller onto the shaft until it sits flush against the propeller hub.
5. Secure the Propeller:
Carefully thread the nuts or bolts back onto the motor shaft and tighten them securely using the appropriate tools. Be careful not to over-tighten, as this can damage the propeller or motor shaft.
6. Check for Proper Installation:
Once the new propeller is securely in place, visually inspect the installation to ensure everything looks correct. Rotate the propeller by hand to ensure it spins freely and does not make contact with any other components.
How to Replace a Propeller on an Outboard Boat Motor:
1. Remove the Boat from the Water:
If your boat is in the water, carefully navigate it to shore or use a boat ramp to remove it from the water. Ensure the boat is securely supported on a stable surface.
2. Access the Propeller:
Locate the propeller housing on the outboard motor and remove any protective covers or guards to access the propeller.
3. Remove the Old Propeller:
Use the appropriate tools to loosen and remove the nuts or bolts securing the old propeller to the motor shaft. Carefully slide the old propeller off the shaft, taking note of its orientation.
4. Install the New Propeller:
Slide the new propeller onto the motor shaft, ensuring it is properly aligned with the splines or drive pin. Gently push the propeller onto the shaft until it seats firmly against the propeller hub.
5. Secure the Propeller:
Carefully thread the nuts or bolts back onto the motor shaft and tighten them securely using the appropriate tools. Again, be careful not to over-tighten.
6. Check for Proper Installation:
Once the new propeller is securely in place, visually inspect the installation to ensure everything looks correct. Rotate the propeller by hand to ensure it spins freely and does not make contact with any other components.
Conclusion:
Replacing a worn propeller on your boat motor is a straightforward task that can be completed with basic tools and a little know-how. By following these simple steps, you can ensure that your boat stays in top condition and continues to provide you with endless hours of enjoyment on the water. Remember to always consult your boat’s manual and follow manufacturer recommendations for propeller maintenance and replacement.
Also visit our other websites focused on:
– boats for sale in New Zealand
