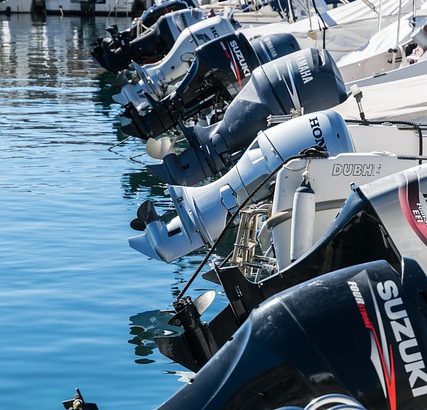
When and How Replacing the Anode on a Boat Engine
Proper maintenance of a boat engine is a key factor in ensuring its long life and reliable performance. One crucial task in this maintenance is replacing the anode. In this article, we will explore when and how to perform this task safely and effectively.
When to Replace the Boat Engine Anode?
An anode is a metal part located on a boat engine designed to protect vital metal components from corrosion. So, when do you need to replace the anode?
1. Visual Inspection:
Regular visual inspection of the anode is essential. If you notice that the anode is severely corroded or has significantly reduced in size, it’s time for a replacement.
2. Every Year or Two:
Most experts recommend replacing the anode every year or two, depending on usage intensity and the type of water you navigate.
3. Corroded Areas:
If you observe that metal parts of the engine, such as the external parts of the shaft or exhaust, are starting to corrode, it could be a warning sign that the anode is no longer providing sufficient protection.
How to Replace the Anode?
Step 1: Ensure Safety
Before starting any work on the boat engine, ensure that the engine is turned off and disconnected from the power source. Wear appropriate protective gear.
Step 2: Locate the Anode
Identify the location of the anode on the engine. Typically, it is situated on the lower part of the engine or in its vicinity.
Step 3: Use the Right Tools
For anode replacement, you will need the right tools such as wrenches, bolts, and possibly a wrench for tightening screws.
Step 4: Remove the Old Anode
Use the wrenches to remove the old anode. Ensure that the screws are tightly secured and holding the anode in place.
Step 5: Clean the Surfaces
Before installing the new anode, clean the surfaces where the anode is located. Remove any remnants of the old material or corrosion.
Step 6: Install the New Anode
Place the new anode in the correct position and use a wrench to securely tighten it. Ensure it is properly seated and firmly attached to the surface.
Step 7: Check Fastenings
Before restarting the engine, ensure that all screws and connections are tightly secured. Make sure the anode is properly sealed and has no movements.
Step 8: Regular Inspection
After replacement, monitor the condition of the anode and regularly inspect it to ensure it continues to fulfill its protective role.
Regularly replacing the anode on a boat engine is a simple yet crucial task for maintaining the overall health of the engine. Following manufacturer recommendations and conducting regular checks will ensure smooth sailing and a long life for your boat engine.
